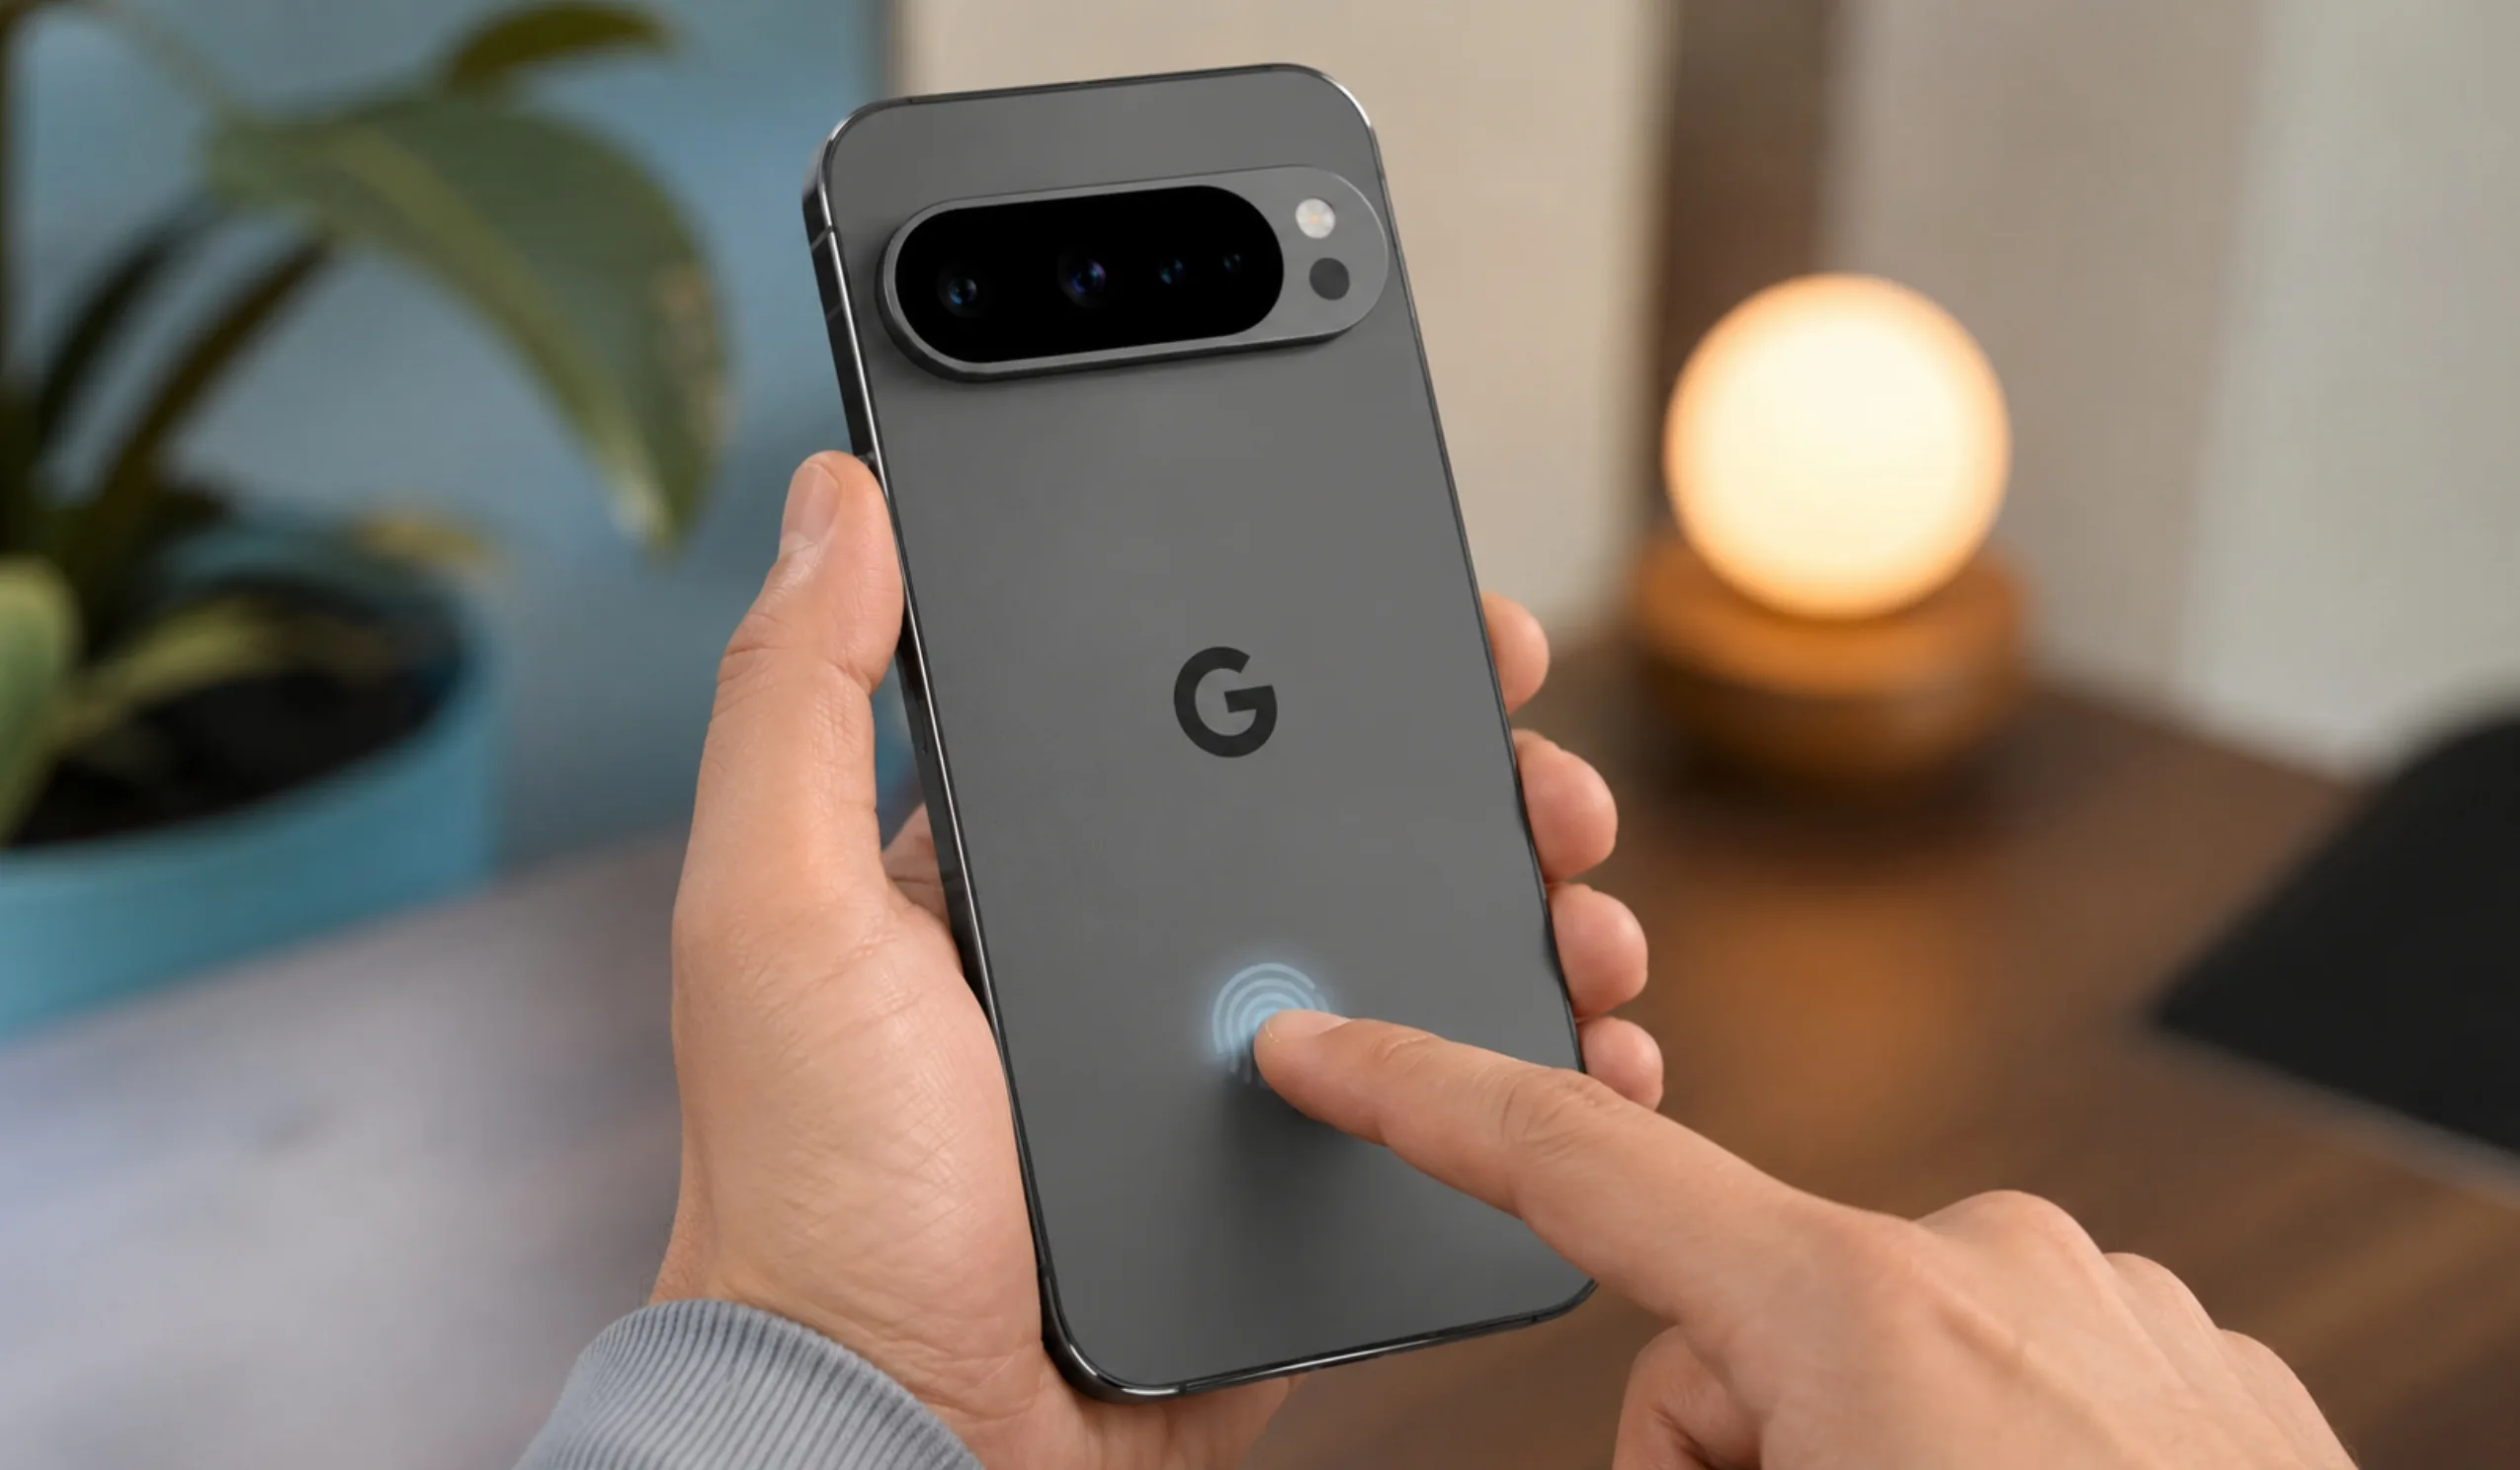
Owning a Google Pixel 10, Pixel 10 Pro, or Pixel 10 Pro XL gives users access to one of the best Android experiences available. Sometimes, however, the device needs to be unlocked. This guide covers everything a user needs to know about unlocking these phones. Whether the goal is switching carriers or installing custom software, the steps below will help.
Key Takeaways
What Does Unlocking Mean?
The word “unlock” means two very different things for smartphones. A user must understand both types before starting any process.
Carrier unlocking (also called SIM unlocking or network unlocking) removes restrictions that tie a phone to one specific wireless company. Once carrier unlocked, a Pixel 10 can accept SIM cards from AT&T, T-Mobile, Verizon, or international providers.
Bootloader unlocking opens the phone’s startup software. This allows advanced users to install custom ROMs, root the device, or modify system files. It does not affect carrier networks directly.
These two processes are completely separate. A carrier-unlocked phone can still have a locked bootloader. Likewise, a bootloader-unlocked phone might still be tied to one carrier for calls and data.
Part 1: How to Carrier Unlock the Google Pixel 10 Series
Why Carrier Unlock a Pixel 10?
Travelers often need local SIM cards abroad. A locked phone rejects foreign networks. Resellers also get higher prices for unlocked devices. Some users simply want to switch to a cheaper or better carrier without buying new hardware.
The Pixel 10 series supports all major US networks. Once unlocked, these devices work on GSM and CDMA carriers alike. That flexibility makes carrier unlocking very popular.
How to Check If a Pixel 10 Is Carrier Locked
Before starting any unlock request, a user should confirm the lock status. Google makes this easy.
The owner must open Settings on the Pixel 10. Next, they tap Network & Internet. Then they select SIMs and look for the carrier lock status. If the phone says “No SIM restrictions,” it is already unlocked.
Another method involves inserting a SIM card from a different carrier. If the phone shows an “Invalid SIM” or “Network Locked” message, the device remains locked.
Major Carrier Unlock Policies in 2026
Each US carrier has different rules for unlocking devices. The policies changed significantly in early 2026, so users must know the current requirements.
Verizon Unlock Policy
Verizon no longer unlocks phones automatically after 60 days. In January 2026, the FCC granted Verizon a waiver that removed the old automatic unlock requirement.
For postpaid devices, Verizon now unlocks a phone only after the device is fully paid off. If a user pays the balance with a Verizon Gift Card, the unlock process delays by an additional 35 days.
For prepaid devices, Verizon requires 365 days of paid and active service before unlocking. The device must not be reported lost or stolen.
Military personnel can request early unlocking with deployment orders. Once a Verizon device unlocks, it never re-locks.
AT&T Unlock Policy
AT&T keeps its policy straightforward. A postpaid device must be paid in full and active for at least 60 days before it qualifies.
For prepaid devices, AT&T requires 6 months (180 days) of paid service. The device cannot be active on another account, and it must not have any fraud flags.
Some newer devices launched after September 2025 unlock automatically once eligibility is met. Users can check the status in Settings or submit a manual request through the AT&T Device Unlock Portal
T-Mobile Unlock Policy
T-Mobile offers one of the shortest postpaid waiting periods. A device needs only 40 days of active service on the T-Mobile network. If the phone is financed, the balance must be zero.
For prepaid devices, T-Mobile requires either 365 days since activation or more than $100 in refills during the first year. The account must be in good standing, and no more than two unlocks per line can occur within 12 months
T-Mobile typically processes unlocks automatically within two business days for eligible devices.
Step-by-Step: How to Request a Carrier Unlock
The exact steps depend on the carrier, but the general process follows a similar pattern.
Step 1: Confirm eligibility. The user must verify that the device is paid off, the account is current, and the minimum service period has passed.
Step 2: Gather information. The owner needs the phone’s IMEI number. They can find it by dialing *#06# or checking Settings > About Phone.
Step 3: Contact the carrier. Most carriers offer online unlock portals. AT&T uses att.com/deviceunlock. T-Mobile users can check status in the T-Life app. Verizon postpaid customers can request unlocks through the My Verizon app once the device is paid off.
Step 4: Submit the request. The user fills out the form with the IMEI and account details. They must select “Permanent Unlock” if given a choice.
Step 5: Wait for confirmation. Carriers usually respond within two business days. Some devices unlock remotely. Others require a restart or a special code.
Step 6: Test the unlock. The owner should insert a SIM from a different carrier. If the phone connects to the new network, the unlock succeeded.
What About Third-Party Unlock Services?
Many websites sell unlock codes for the Pixel 10 series. Users should treat these services with extreme caution.
Unauthorized unlocking violates most carrier terms of service. Some third-party tools require risky software modifications. Others are outright scams that steal money without delivering codes.
The safest and cheapest method is always the official carrier unlock. It is free for eligible devices and carries no risk of malware or warranty issues.
Part 2: How to Bootloader Unlock the Google Pixel 10 Series
What Is Bootloader Unlocking?
The bootloader is the first software that runs when a phone turns on. It decides what operating system to load. By default, Google locks the bootloader to prevent unauthorized changes.
Unlocking the bootloader allows users to install custom recoveries like TWRP, flash custom ROMs, or gain root access with Magisk. It is a common first step for Android enthusiasts and developers.
Important Warnings Before Starting
All data will be erased. Unlocking the bootloader triggers a factory reset. Every photo, message, and app disappears permanently. Users must back up important files before proceeding.
Warranty concerns may arise. While Google does not officially void the Pixel warranty for bootloader unlocking, some carrier-sold models may have different terms. Users should check their specific agreement.
SafetyNet will fail. An unlocked bootloader causes the phone to fail Google’s SafetyNet checks. This means some banking apps and mobile payment services may stop working. Tools like Magisk can sometimes hide this status, but it requires extra effort.
Not all Pixel 10 devices can be unlocked. Phones purchased from carriers like Verizon or AT&T often have the bootloader locked permanently. Only devices bought directly from Google or labeled “unlocked” typically support this process.
What a User Needs
Before starting, the owner must gather a few tools and enable specific settings.
A Windows, Mac, or Linux computer is required. The user must download Google’s SDK Platform Tools, which include ADB and Fastboot. A reliable USB-C cable is essential. Cheap cables often cause connection failures.
The phone must have Developer Options enabled. To turn this on, the user goes to Settings > About Phone and taps Build Number seven times. A message confirms that developer mode is active.
Next, the user opens Settings > System > Developer Options and enables OEM Unlocking. This toggle allows the bootloader to be unlocked. On some devices, this option appears greyed out until the phone connects to the internet for a verification check.
The user must also enable USB Debugging in the same Developer Options menu.
Step-by-Step Bootloader Unlock Guide
Step 1: Install platform tools. The user downloads the latest SDK Platform Tools from Google’s official Android developer website. They extract the ZIP file to an easy-to-find folder.
Step 2: Boot into Fastboot Mode. The Pixel 10 must be completely powered off. Then the user holds the Power Button and Volume Down Button together until the Fastboot Mode screen appears.
Step 3: Connect to the computer. Using a USB-C cable, the user plugs the phone into the computer.
Step 4: Open a command window. On Windows, the user opens Command Prompt or PowerShell. On Mac or Linux, they open Terminal. They must navigate to the folder containing the platform tools.
Step 5: Verify the connection. The user types: fastboot devices If the phone’s serial number appears, the connection works. If nothing shows up, the user should try a different cable or USB port.
Step 6: Unlock the bootloader. The user types: fastboot flashing unlock
Step 7: Confirm on the phone. The Pixel 10 screen displays a warning message about data loss. The user presses the Volume Down button to highlight “Yes” and presses the Power Button to confirm.
Step 8: Wait for the reset. The phone unlocks the bootloader and automatically wipes all data. This takes a few minutes. The device then reboots back into Fastboot Mode.
Step 9: Reboot into Android. The user presses the Power Button to select “Start” from the Fastboot menu. The phone reboots into the setup screen as if it were brand new.
Step 10: Verify the unlock. After setup, the user can re-enable Developer Options and check that OEM Unlocking remains enabled. They can also look for the bootloader unlock warning during startup, which confirms success.
Troubleshooting: What If OEM Unlocking Is Greyed Out?
Some Pixel 10 owners find the OEM Unlocking toggle disabled. This usually happens on carrier-branded devices or when the phone has not completed Google’s server verification.
If the phone was bought from a carrier, the bootloader may be permanently locked. No official method exists to bypass this.
If the phone was bought from Google, the user must connect to Wi-Fi and let the device check in with Google’s servers. Sometimes a restart is required after the first internet connection. The toggle should then become available.
In rare cases, a factory reset followed by an immediate internet connection can resolve the issue. Users should avoid unofficial workaround videos that suggest ADB command tricks. These methods often fail on newer Android versions and can compromise security.
The Bottom Line
Unlocking a Google Pixel 10, Pixel 10 Pro, or Pixel 10 Pro XL opens up new possibilities. Carrier unlocking gives users the freedom to choose any wireless provider. Bootloader unlocking opens the door to custom software and advanced modifications.
Each process requires patience and careful attention. Users must back up data, confirm eligibility, and follow official steps. Rushing the process or using shady third-party tools often leads to frustration.
For most people, carrier unlocking is the only step needed. It is free, safe, and supported by every major US carrier. For Android enthusiasts, bootloader unlocking adds another layer of control. Either way, the Pixel 10 series remains one of the most flexible flagship phones on the market.
Frequently Asked Questions
To carrier unlock a Verizon Pixel 10, the device must be fully paid off. Verizon ended automatic 60-day unlocks in early 2026. Postpaid users must pay the remaining balance first. Prepaid users need 365 days of active service.
Once eligible, the owner can request an unlock through the My Verizon app or by calling Verizon support. The process usually completes within two business days.
The Pixel 10 Pro XL follows the same rules as the standard Pixel 10. The owner must contact the original carrier and meet all eligibility requirements.
For AT&T, the phone needs 60 days of active service and a zero balance. For T-Mobile, it needs 40 days. For Verizon, it must be paid in full. The user submits the IMEI through the carrier’s unlock portal and waits for confirmation.
Checking the status takes just a few seconds. The user opens Settings, taps Network & Internet, and selects SIMs. If the screen says “No SIM restrictions,” the phone is already unlocked.
Another quick test is to insert a SIM card from a different carrier. If the phone connects to the new network and shows signal bars, it is unlocked.
New Verizon Pixel devices are locked at purchase. They do not unlock automatically anymore. The owner must meet Verizon’s current policy requirements first.
For postpaid models, the device must be paid off completely. For prepaid models, it must have 365 days of paid service. Only then will Verizon approve an unlock request.
Yes, but the method depends on the type of unlock. Carrier unlocking is possible for all Pixel 10 models if the owner meets the carrier’s eligibility rules. Bootloader unlocking is only possible on Pixel phones bought directly from Google or sold as factory unlocked.
Pixels purchased from Verizon or some other carriers often have permanently locked bootloaders. No official workaround exists for those models.
For carrier unlocking, the owner must go through Verizon. There is no legal self-service code or hack. The user can submit the request online or by phone once the device is eligible.
For bootloader unlocking, Verizon Pixel models generally cannot be unlocked by the user at all. Only Google Store variants allow this, and even then, it requires a computer and ADB tools.